Anyone else struggle with project timelines? It is so easy to plan a DIY project but the actual time it takes to complete said project is ten times longer than expected. Life also just moves at such a rapid pace these days it never feels like I am caught up on all the things. I am so grateful to have been motivated by the One Room Challenge to start this bathroom makeover but 6 weeks is just not a reality for a working Mom, wife, business owner and trying really hard for the title of blogger. Despite my timeline issues I am super excited to share the progress that’s been made!
Let there be light
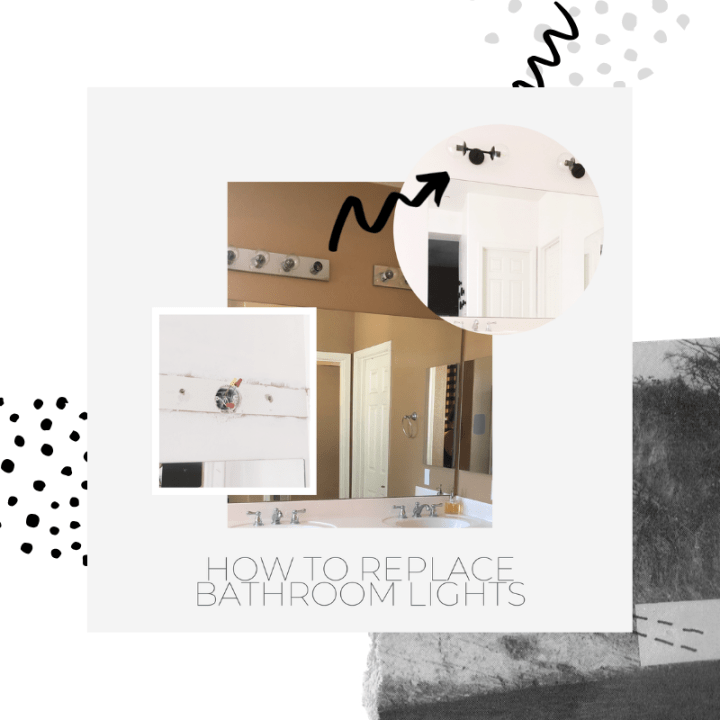
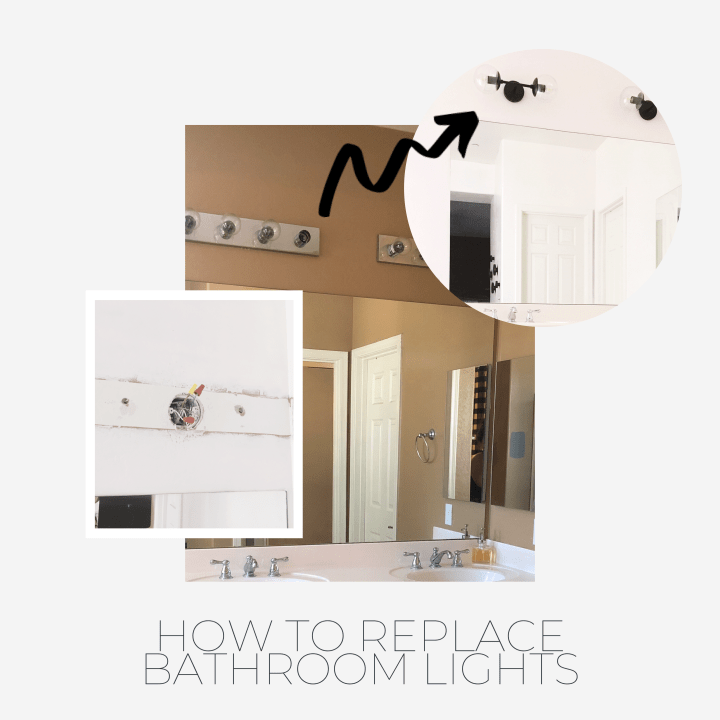
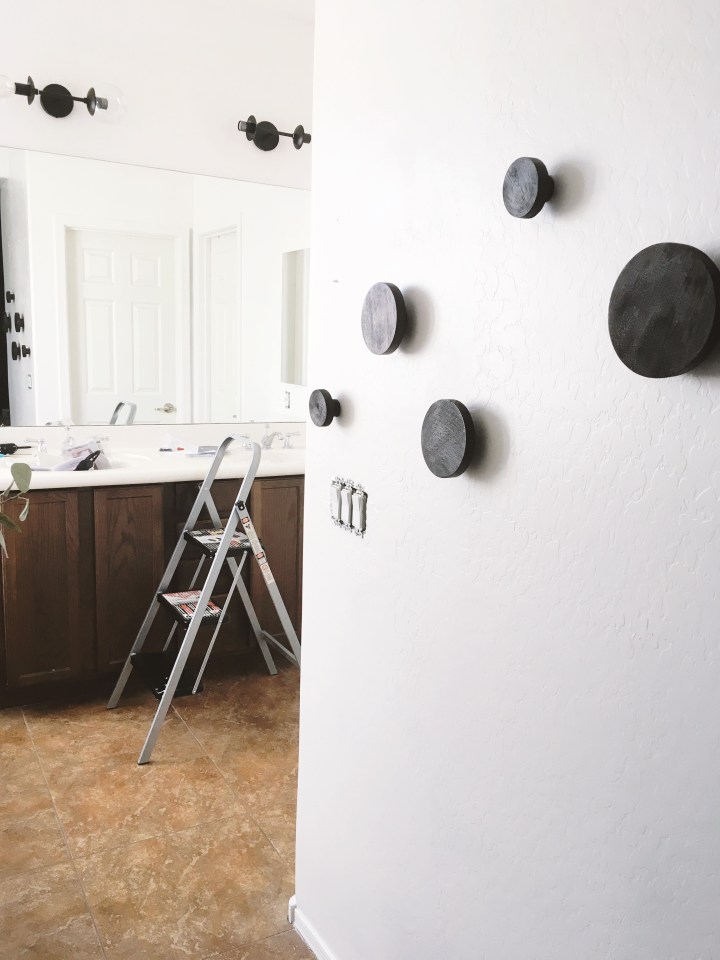
Say Hello to my new best friends, I mean my new lights from Poly and Bark!
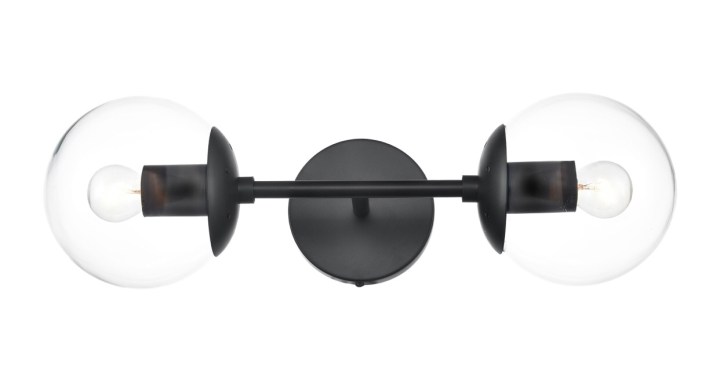
I mostly installed the lights on my own but did need some troubleshooting help from Dad when the screws weren’t being friends with the wall. I have always been weary about installing lights because I thought it was scary and complicated. I have to urge anyone who feels similarly to be brave and give it a go. It is actually so much simpler than I thought and the directions that come with your light will totally walk you through it. If you can match colors (black wires with black wires) and you can use a screw driver then you can do it!
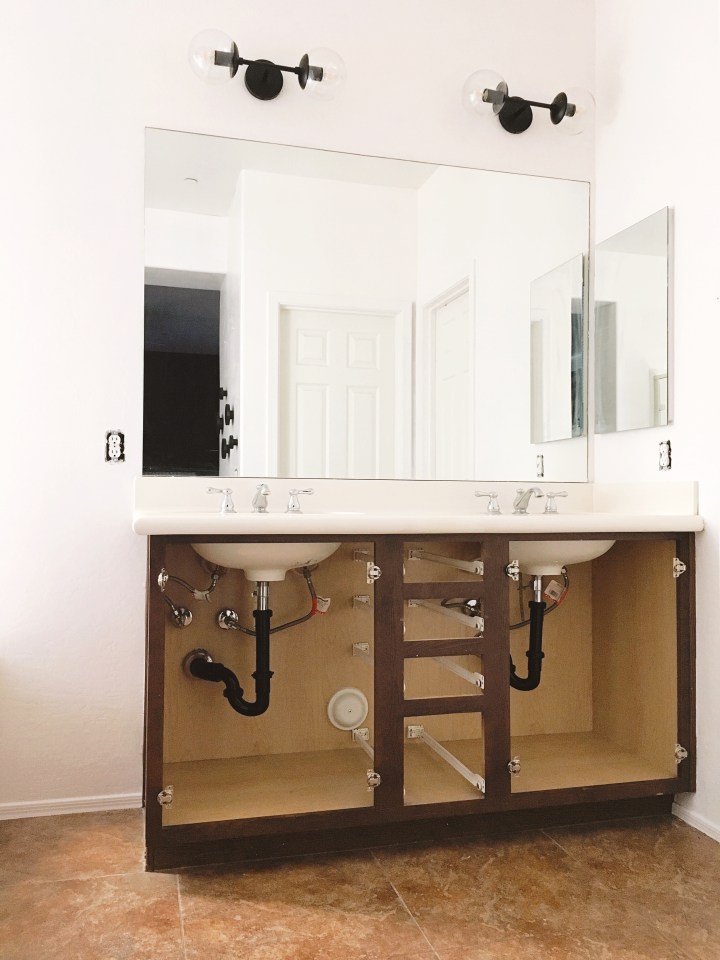
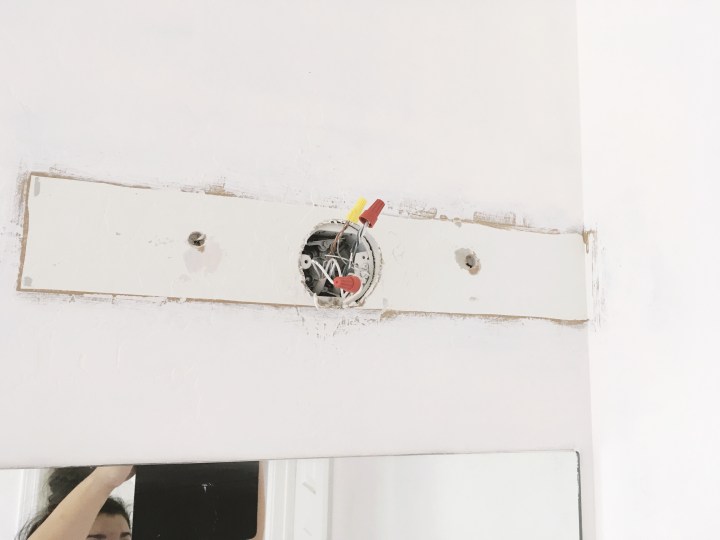
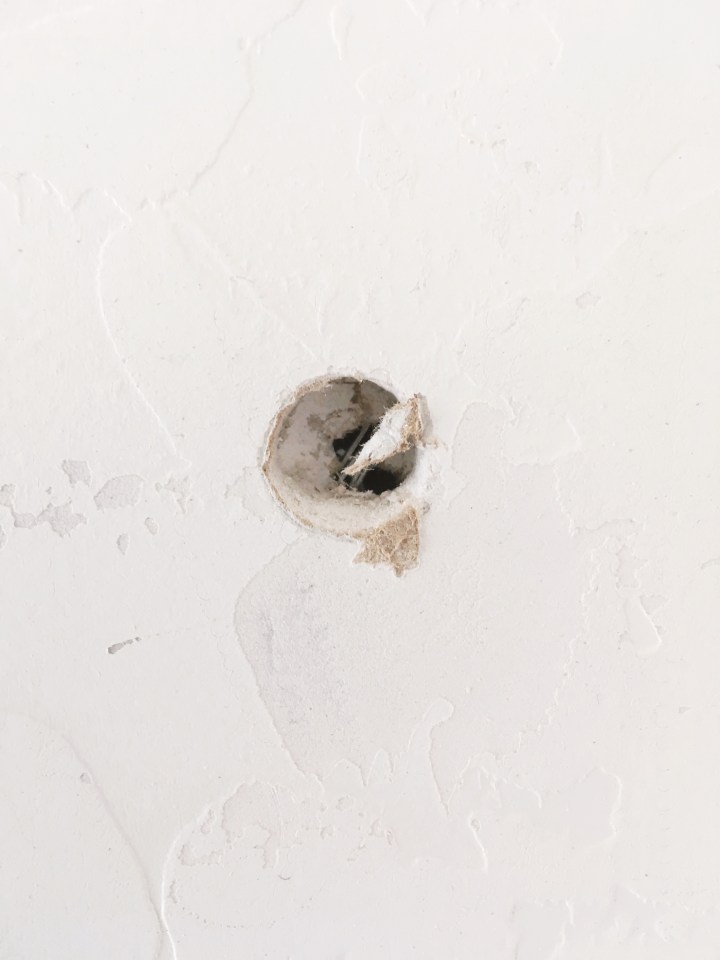
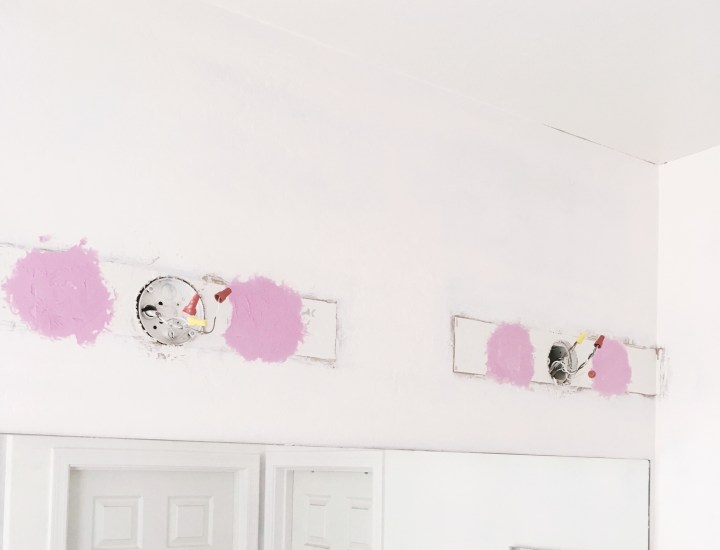
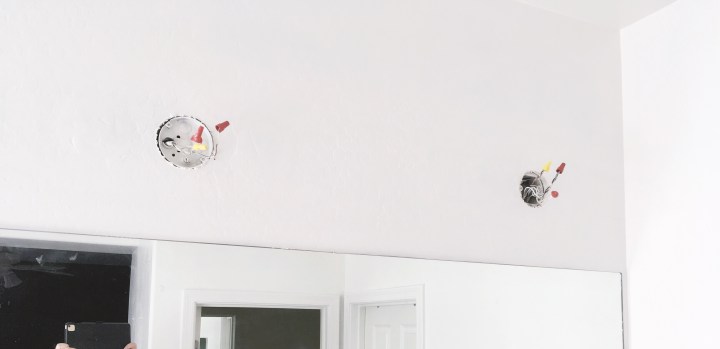
When I removed the original hideous strip lighting from the wall there were ginormous holes that needed repair.
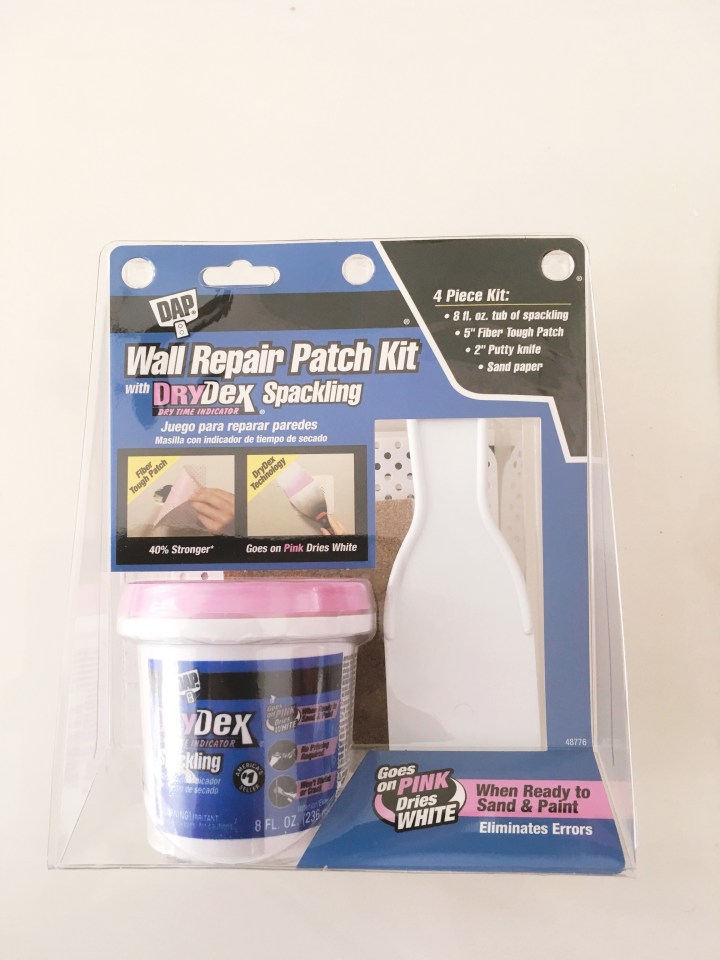
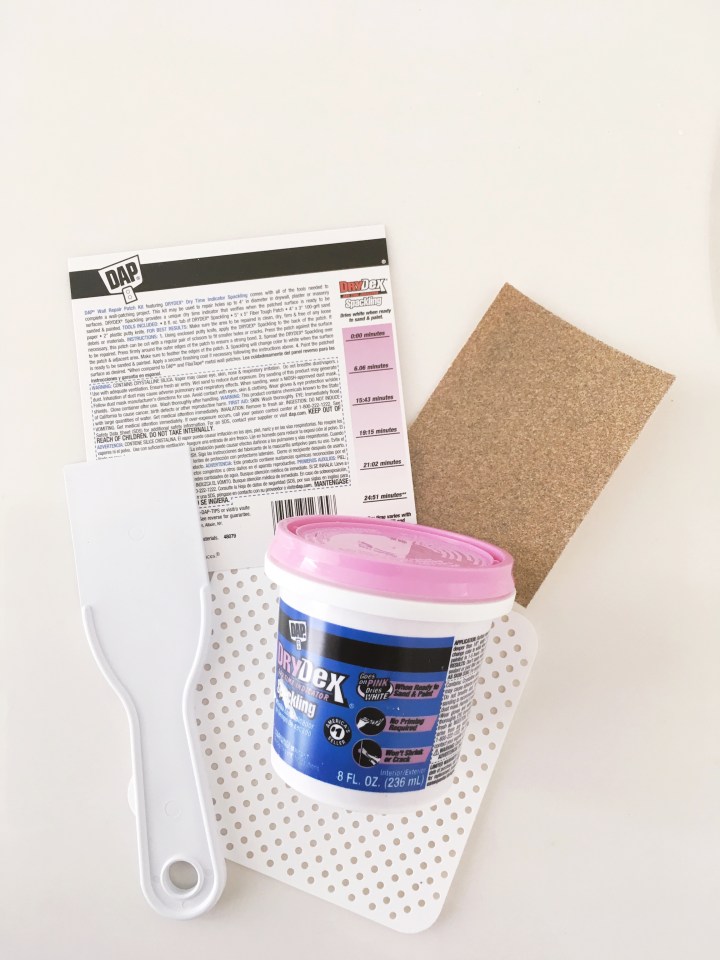
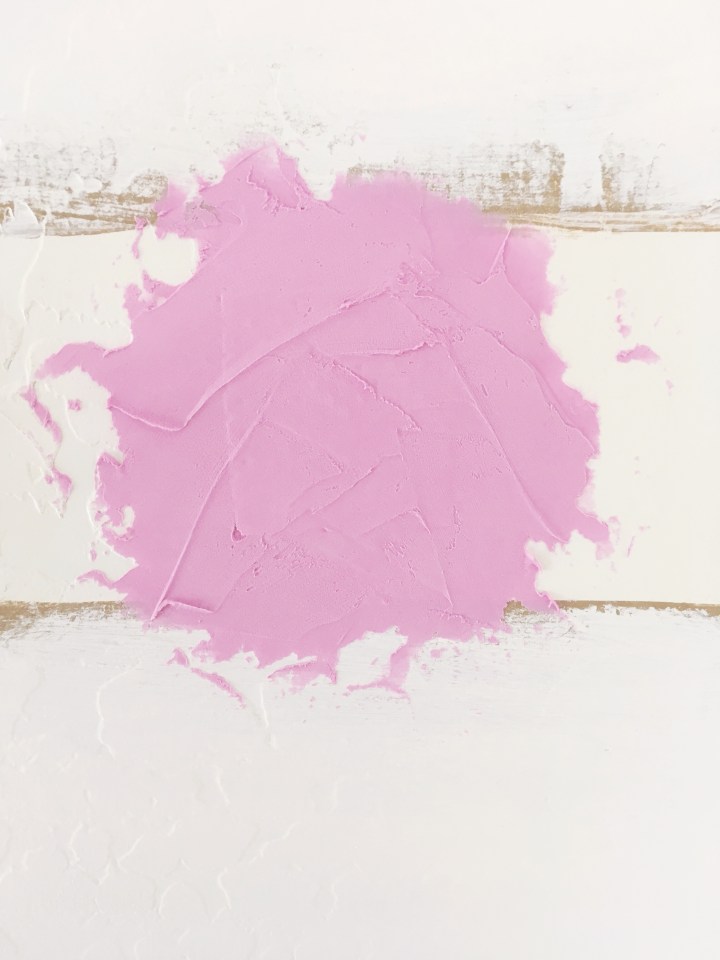
I picked up a repair kit from Home Depot to cover up the holes. I really like this kit because the paste starts out purple and turns white (ish) when it’s dry so you know when you can paint.
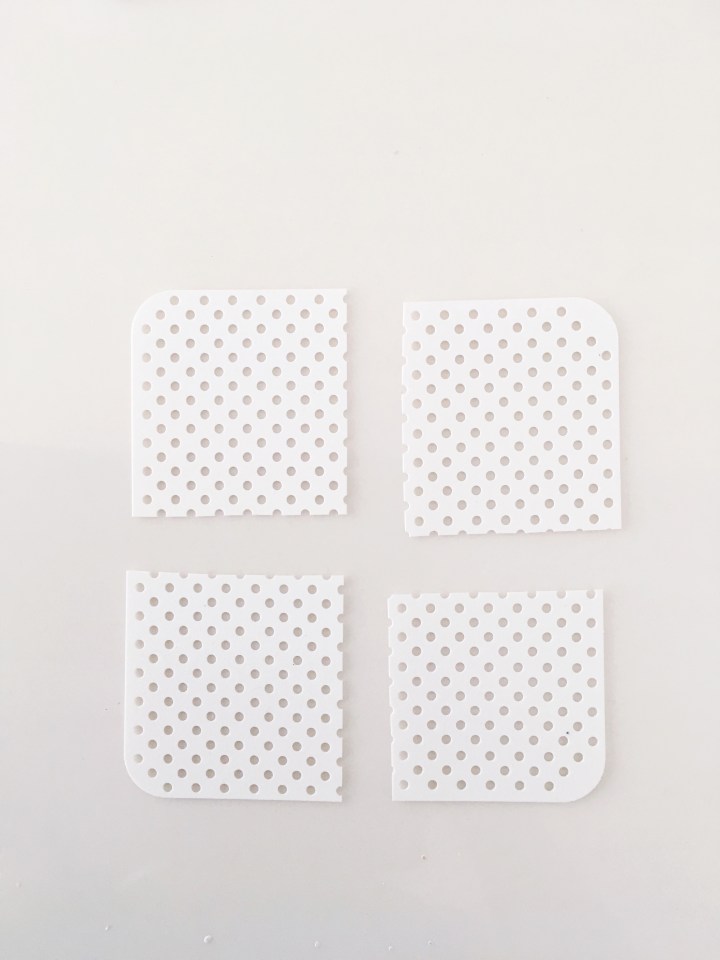
First step is to sand around the holes and any other damaged parts of the wall to create a smooth surface. The patch in the kit was big enough to cut into 4 smaller squares just the right size to cover the holes in my wall.
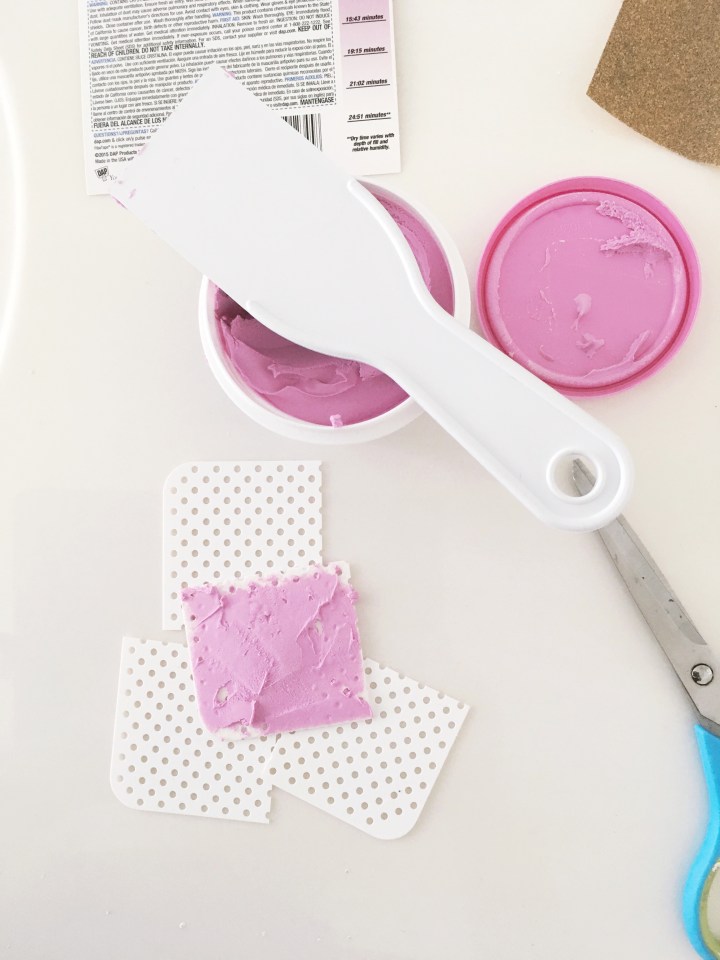
Spread a layer of purple goop to the back of the patch (slightly darker side) and push it onto the wall, covering the hole.
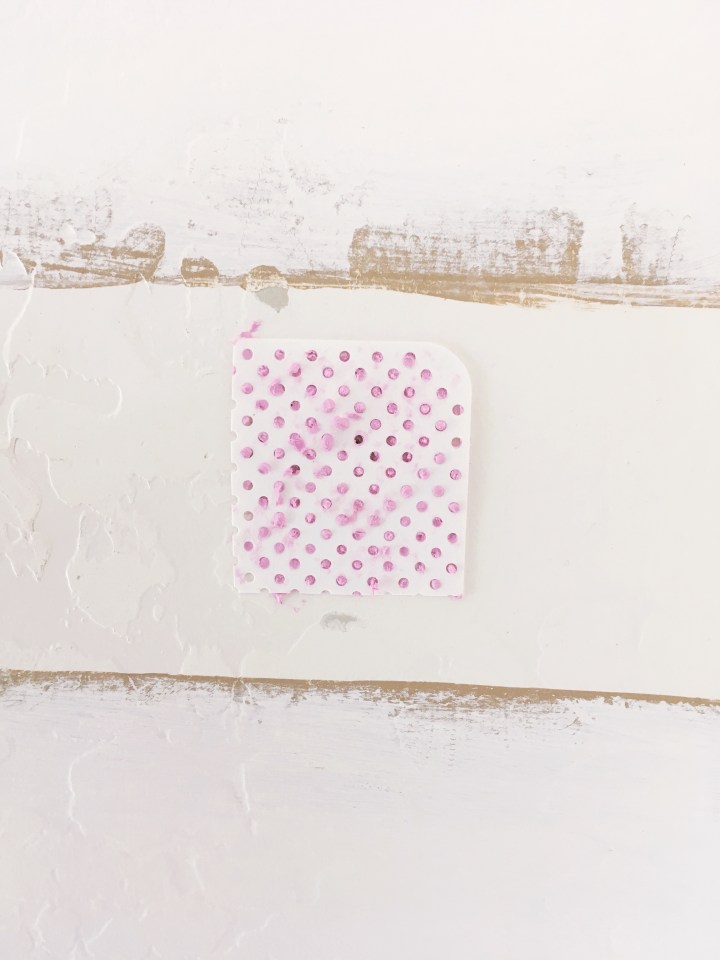
Next, spread more purple goop over the patch and onto the wall around it to blend it into the existing wall texture. I was heavy handed for this part because I would rather sand away excess filler than see the patch mark on the wall.
Once all of the holes were patched I waited for it to dry to smooth it out with sandpaper and then paint over the last reminders of hideous light fixtures.
Time to install…
Like I said above I was a bit nervous about installing lights on my own but in reality it is super easy. Make sure you turn off the electricity at your main circuit breaker box while you are working with the wires. The first step will be securing the mounting plate of your light fixture to the wall.
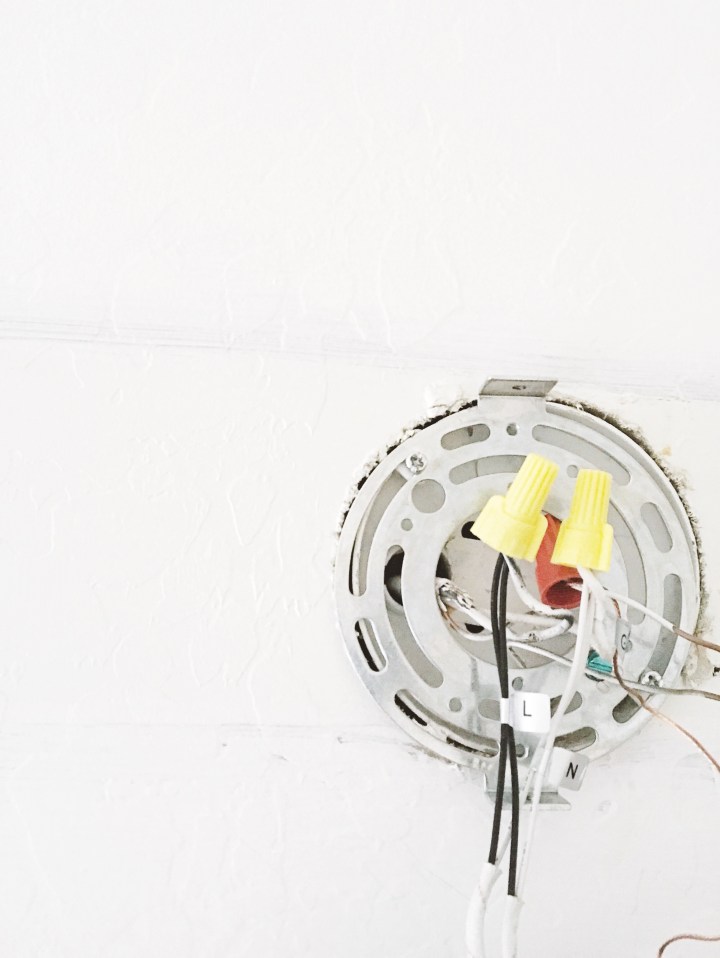
Make sure you screw it in to match how the light will attach…. so check the screw holes from the fixture to the mounting plate so you don’t have to do it three times like I did. The first time I attached the mounting plate where my light fixture would be vertical instead of horizontal. Now, this is the part that I had to call in Dad reinforcements because my screws for the mounting plates were not being friends with my wall. Dad explained that the screws were too long which is why I couldn’t get them to screw all the way in thus unable to secure the plate to the wall.
Once your mounting plate is secure you need to match the black wires from the wall to black wires in your fixture, secure them with electrical tape around the rubber part to keep them together and then screw those weird little plastic caps to the metal ends to keep them together. Repeat for white wires and the ground wire (copper).
That is a fun little video of me wrestling with the wall to help you remember not everything will go perfectly as planned even if it’s something simple.
The result of this DIY adventure is I learned how to install a light. I can confidently go into my future light projects with that in my toolbox. I am so in love with my new Poly and Bark lights they seriously make the space. I feel like with just fresh paint and these gorgeous lights my bathroom makeover could stop buuuuuut…., I already pulled off the cabinet doors. On to the next project!