
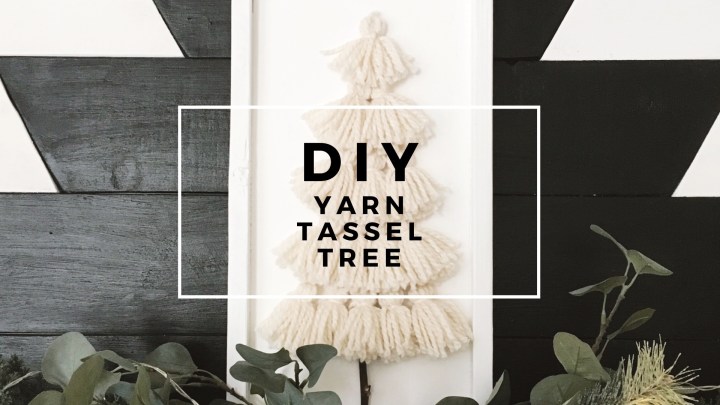
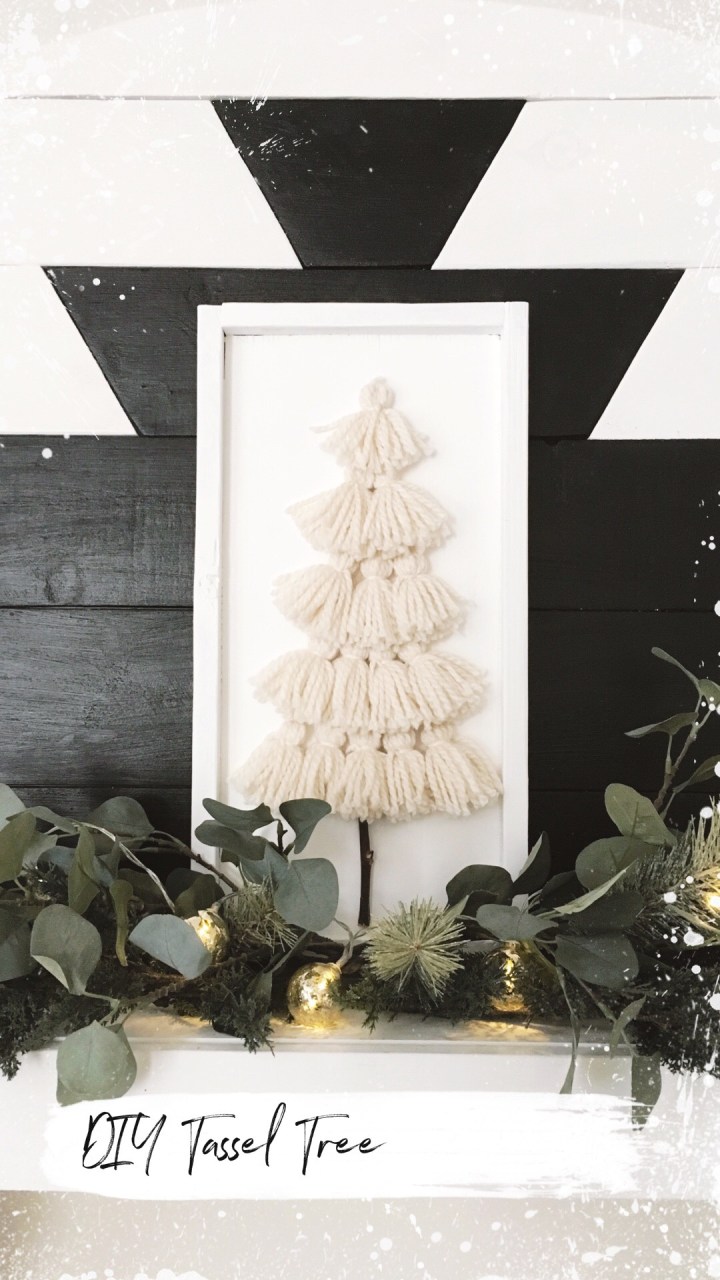
Can’t get enough yarn tassels? The yarn tassel tree is very simple to create. I love the handmade cozy vibe of any yarn craft during the holidays. This would be a beautiful gift to give too!

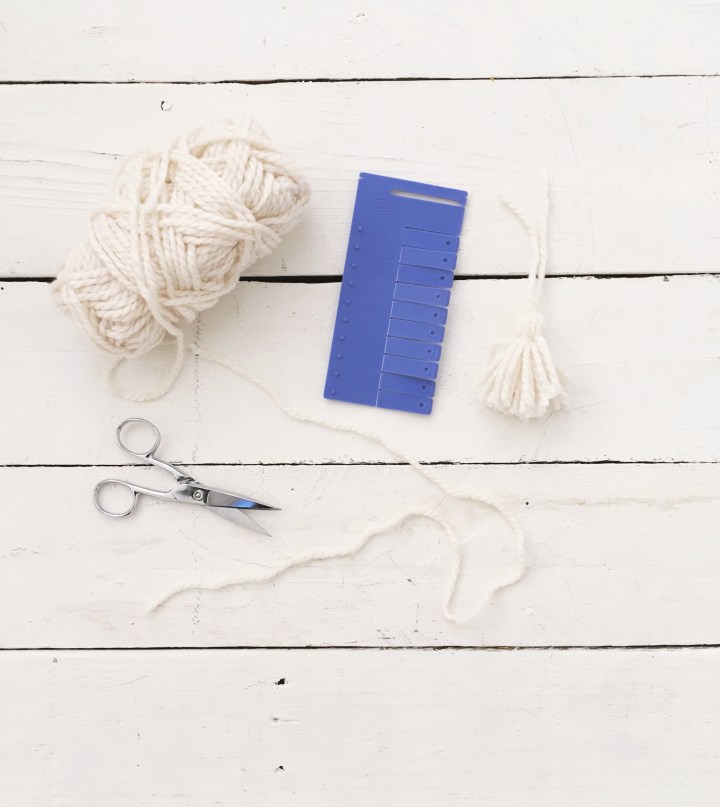
Materials List
Yarn (this is the one I used)
A stick
Tassel Maker (this is what I use) or a piece of cardboard
Hot Glue Gun
Wood Sign from a craft store or build your own using plywood and 1×2″ wood (DIY coming soon)
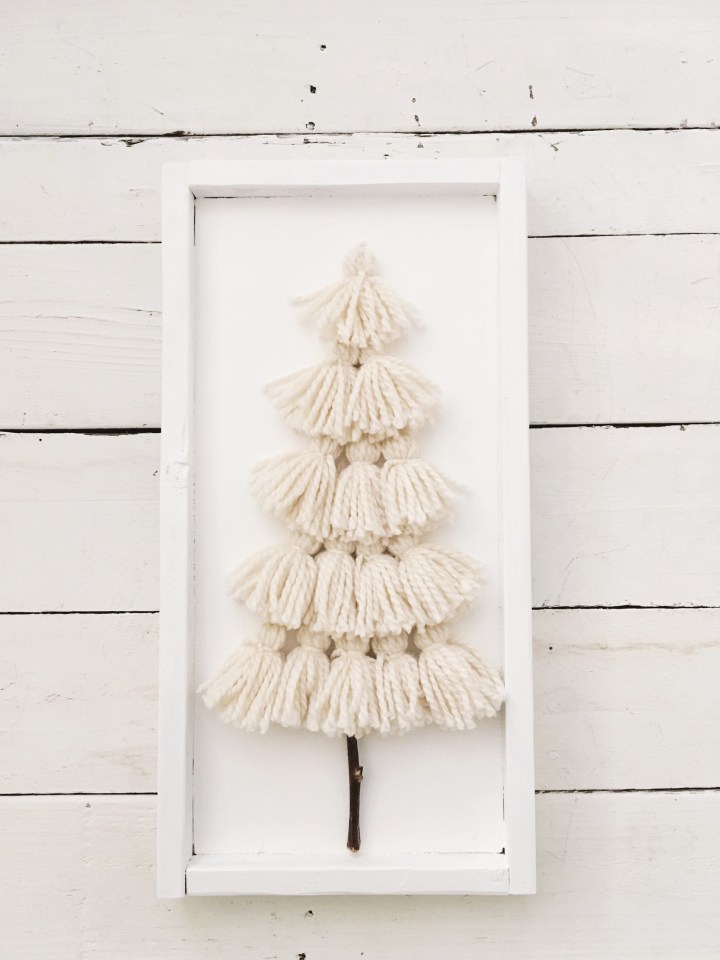
First step is creating the tassels. The number of tassels needed will vary and depends on how big you need your tree to be. The sign in this tutorial is 10×18″. The tassels pictures are 2-3″.
It does not matter if you use a tassel maker or a piece of cardboard. The benefit of the tassel maker is that you can easily switch lengths of tassels within a project where with cardboard you would need to cut a new piece for each desired length.
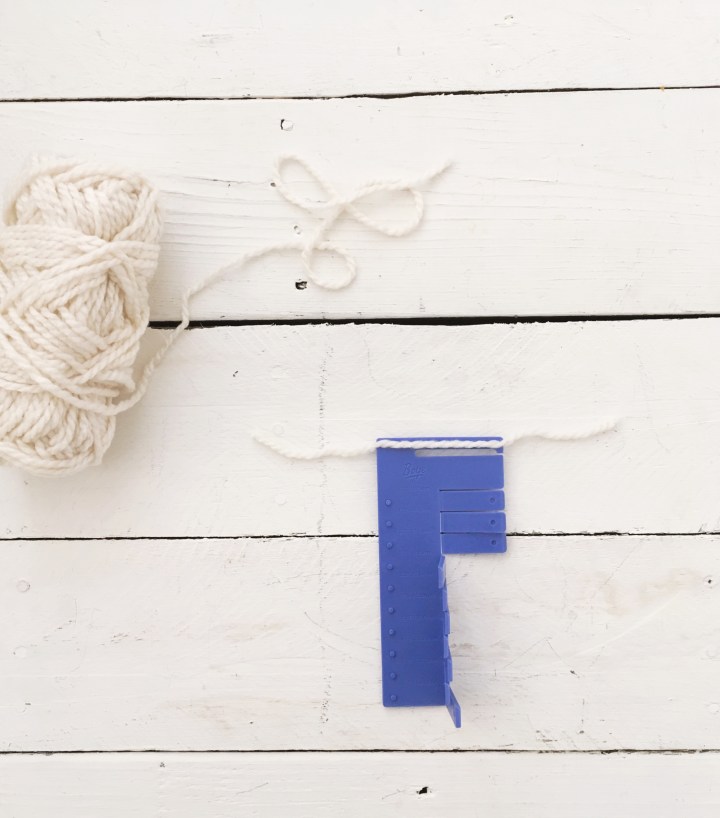
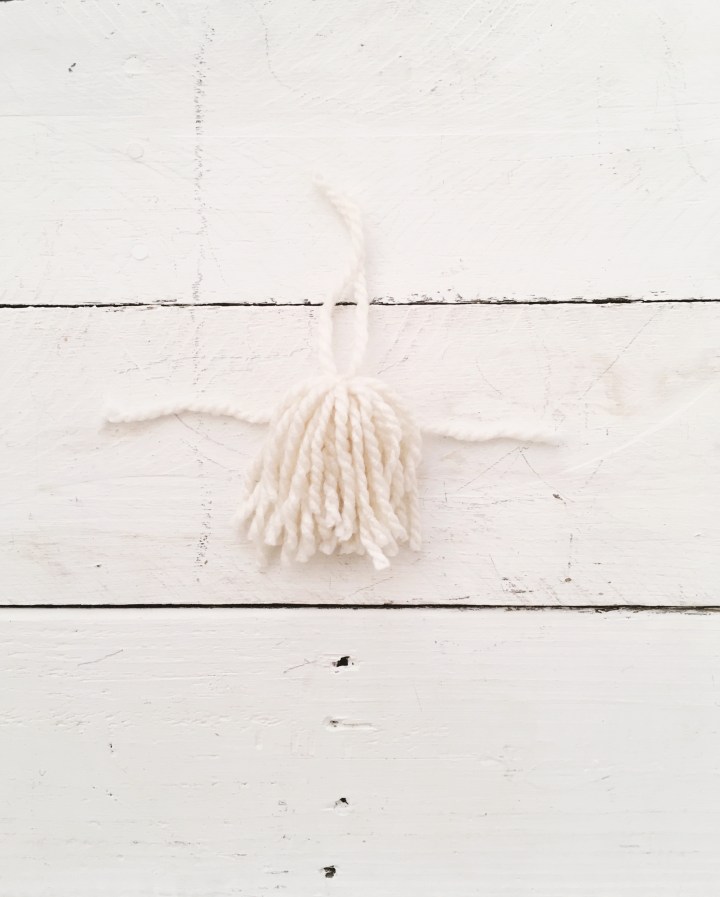
You will need a small piece of yarn to lay horizontal as you wrap the yarn around vertically.

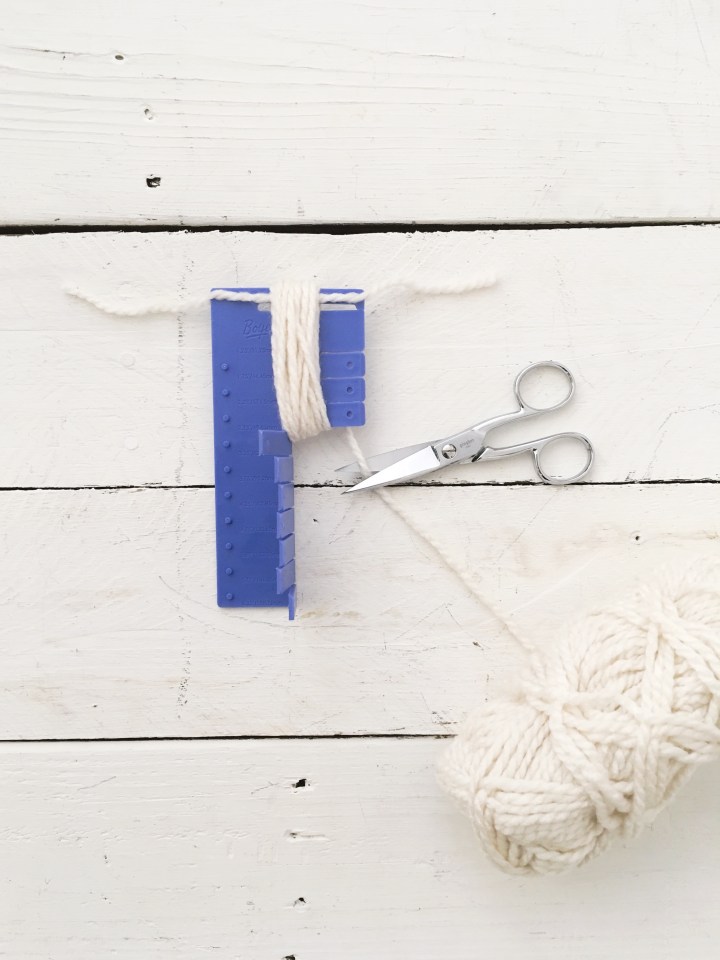
The number of wraps will depend on how fluffy you want your tassel to be. Longer tassels will generally need more wraps. For these 2″ tassels I wrapped 30 times.
Trim the end of the yarn. Gently pull it off the tassel maker/cardboard. Tie a double knot to secure the top. Then cut open the loops on the opposite end.


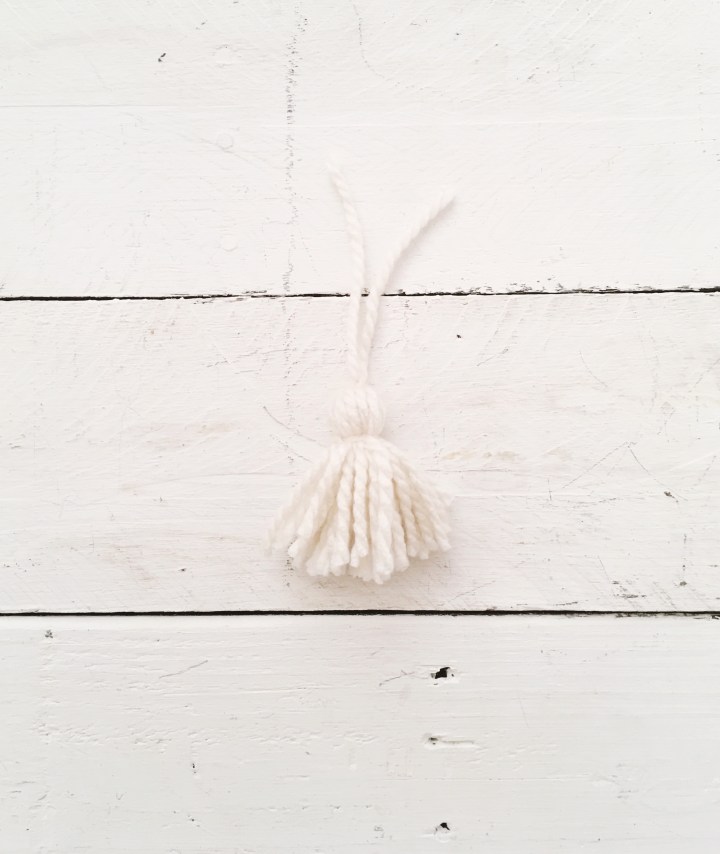
Tie another piece of yarn around the top third of the tassel to create the head. The last step in making the tassel is trimming up the ends.
Now make as many as you need to build your yarn tassel tree. My sign needed 15 tassels (5,4,3,2,1). Once all of your tassels are made your sign is ready to put together. Trim off the top tie strings of your tassels. Lay out your stick and tassels to make sure you like how it all looks before glueing.


Start from the bottom and glue to the top of your tree.
I hope you enjoy making this fun yarn craft. Here is the video version of all the steps above.
Happy DIY-ing! Post and tag @thedottedbow so I can see what you make.
Jen

One thought on “DIY Yarn Tassel Tree”